

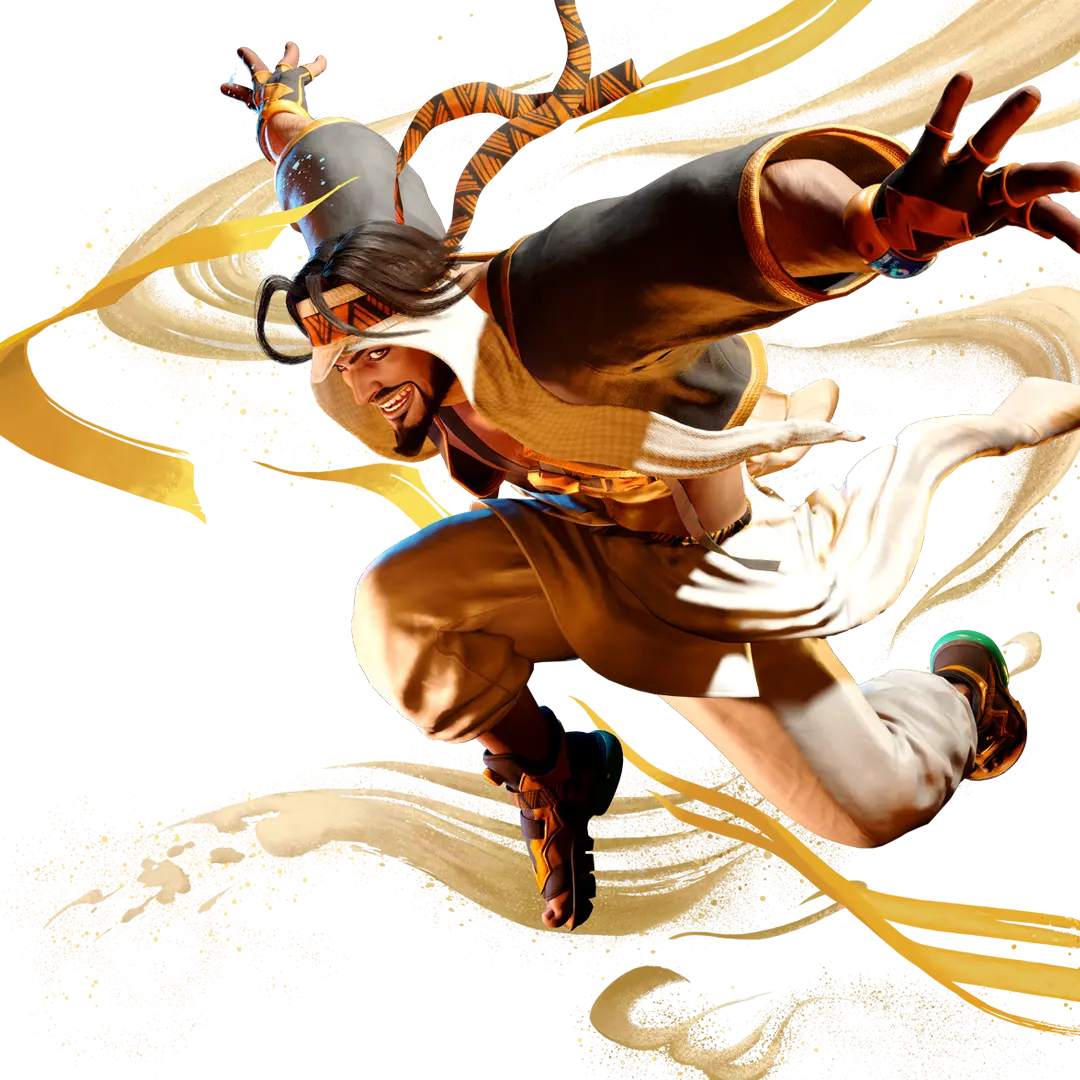
Basic Info: How to play Jamie
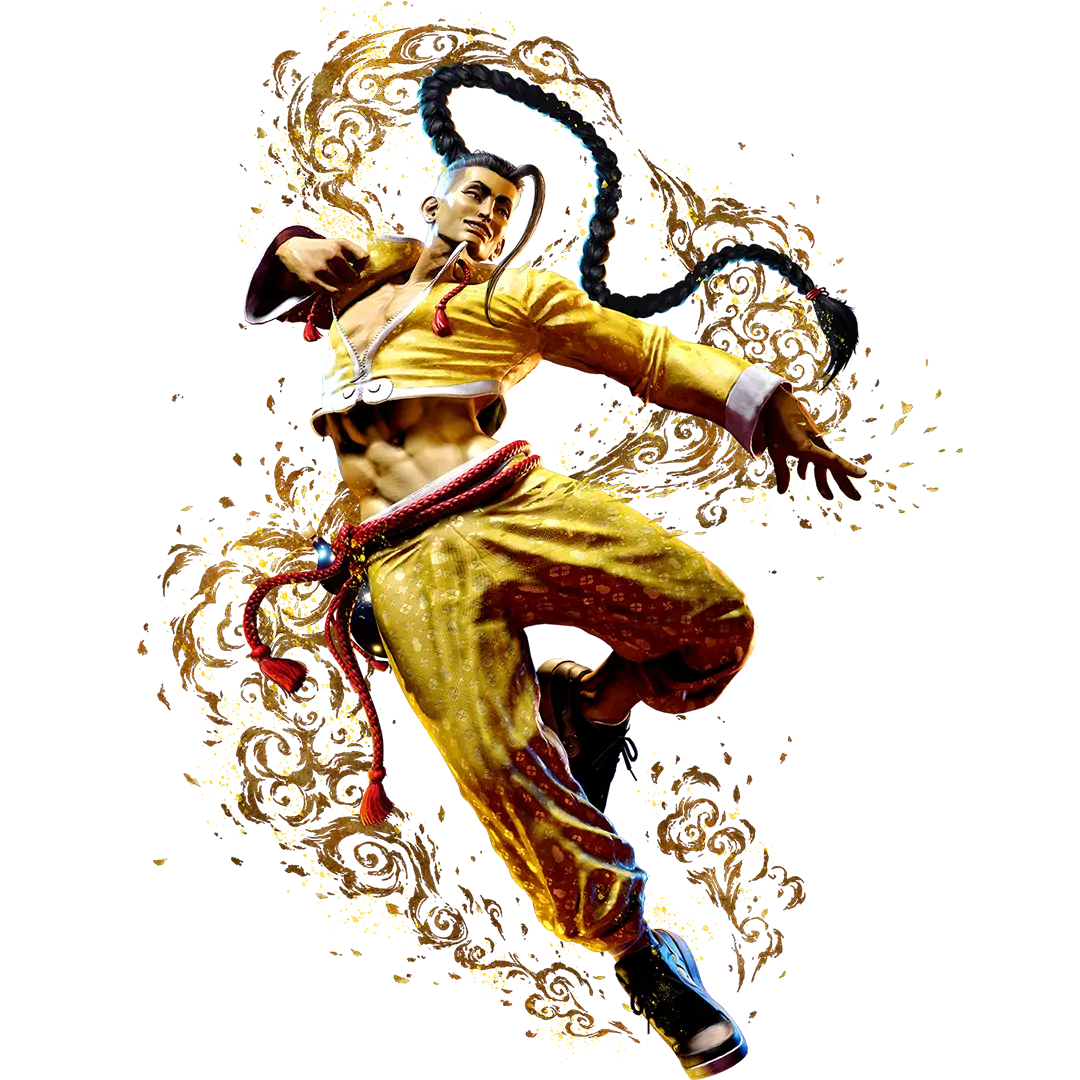
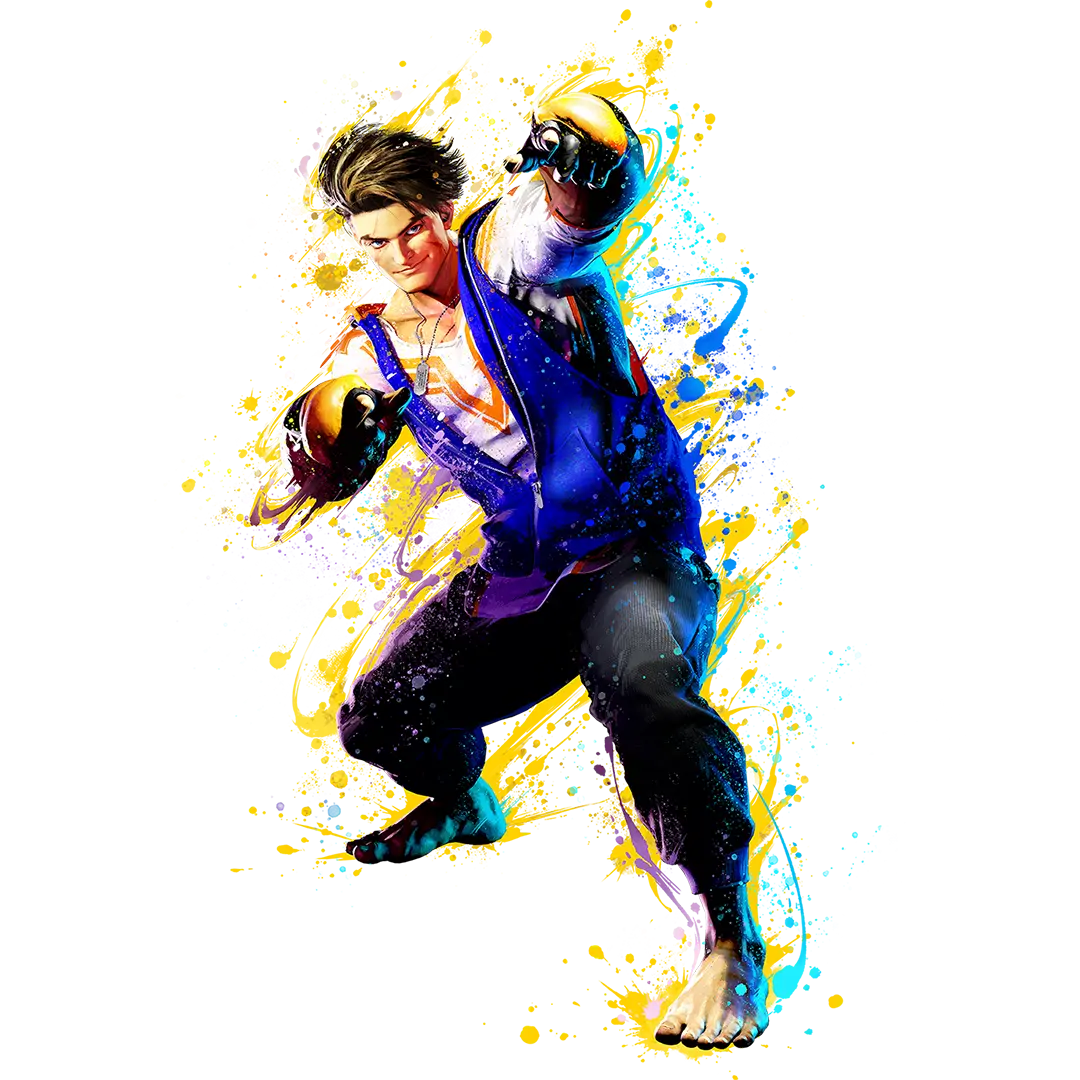
Combining drunken boxing and breakdancing, Jamie specializes in close-range combat. By drinking a special herbal concoction he can enhance the abilities of his moves, and gain access to new ones.
Boasting a wide array of forward-moving attacks, Jamie has no shortage of ways to approach his opponents. And when he gets close, he has a wide variety of attack sequences he can use to mount a relentless offense.
If an opponent is sizing you up, seize the opportunity to take a swig from your gourd and increase your drink level, granting you access to new moves and powering up the ones you already had.
Your drink level can also be increased by performing certain unique or special moves.
Special Move: The Devil Inside (+)
Take out a gourd for a swig of a ki-unleashing drink. Raises your drink level, with higher levels unlocking access to additional moves.
Take a swig of herbal medicine to increase your ki level. The higher your ki level, the more moves you can use, so you'd best make a point of memorizing what kinda stuff you get access to, yeah?
If your opponent is just sittin' around starin' at the wall, take the opportunity to hold that button down and keep your chug goin'. Takin' a swig every chance you get is what ya boy's style is all about!
Special Move: Freeflow Strikes (+,+,+)
Move forward while performing three attacks with your fists. Useful for starting combos from regular attacks.
Both the speed and power of Freeflow Strikes changes depending on the strength of the punch you do it with. For starters, why not give the light and medium versions a go? They're the easiest to work into combos and what not.
If that gets blocked, you can throw out the follow-up late to catch your opponent just as they try to make their move. It's one hell of a feelin' when it all connects, but you leave yourself wide open after, so be smart about usin' it.
Right, so, when your drink level's totally maxed out, this move'll do more damage and you'll recover faster after usin' it, so feel free to go totally nuts with it.
(Overdrive)
The OD version has better range, does more damage, and the first hit recovers quicker. Throwin' this in the face of someone who's not expectin' it is GOOD times.
Special Move: Freeflow Kicks (+,+,+)
Perform an attack with your fists followed by a sequence of kicking attacks. Your drink level will go up once all parts of the move have finished.
What makes this different from Freeflow Strikes is that this bad boy's used to raise your drink level. Whether you go on the attack with Freeflow Strikes or use Freeflow Kicks to raise your drink level is your call, bud. Follow your heart.
(Overdrive)
This move's like the first hit of Freeflow Strikes, 'cept on top of the added damage and recovery, you ALSO pump up your drink level. That's my kinda overdrive!
Special Move: Swagger Step (+)
Quickly lunge toward your opponent and strike with the heel of your palm. Useful as a surprise attack that closes the distance with your opponent.
Swagger Step covers different distances depending on whether it's done with light, medium, or heavy punch. Best way to use this sucker is to juuust barely connect with it.
It's great for goin' in on your opponent, but you can also toss it out as a distraction before using The Devil Inside.
(Overdrive)
If you manage to land this in the corner, you'll be able to follow up after. You won't be left too open even if it gets blocked, so don't sweat it—just go for it!
Special Move: Arrow Kick (+)
Launch your opponent into the air with a kick, and then use the recoil to follow up with a flying kick. Useful as an anti-air counter to an opponent's jumping attacks, and as a way to close out combos.
Try using the light or medium versions of this as an anti- air attack against airborne opponents. The heavy version does downright nasty damage, but you'll wanna save that one for situations where you've got your opponent launched.
(Overdrive)
This one's totally invincible to an opponent's attacks, so it's perfect for gettin' someone off of you. If someone's comin' at you too hard, this should get rid of 'em.
Special Move: Luminous Dive Kick (+)
While jumping, extend your leg and quickly descend to the ground. Useful as a surprise attack, or as a way to approach your opponent.
Luminous Dive Kick's angle of descent depends on whether it's done with light, medium, or heavy kick. It's hella sweet for doin' surprise attacks from a jump, or for messin' with your opponent's anti-air timing to throw 'em off their game.
This is never a bad move to have available, so you'll wanna use The Devil Within to get it unlocked quick.
(Overdrive)
This'll recover quicker than usual and you can even do a follow-up if it hits. If you've got the Drive Gauge to burn, don't even think twice about it!
Special Move: Bakkai (+)
A series of rotating, upside-down kicks while sliding along the ground. This move does big damage, and is useful when performing combos against opponents that have left themselves wide open.
Workin' this into combos is deffo the most straightforward way of usin' it, but lemme give you a hot tip: at the very start of the move, this baby can slip through projectiles.
If you're ever tryin' to find a way to raise your drink level, keep your eyes peeled for chances to slip through a projectile and make your opponent feel the pressure.
(Overdrive)
As if it didn't already do mad damage, the OD version has got even more kaboom behind it! If you can land it, like, after a jumping attack or something, go for it.
Special Move: Tenshin (+)
A throw that stops the opponent's movements by thrusting a finger in front of their eyes. After the hit connects, it can be followed up with a swift attack.
Handy for bustin' through an opponent's guard at close range, and you can even get a combo in afterward. When it lands, follow up with a medium attack into a special move. Be sure to shut your opponent up with strikes first, though.
(Overdrive)
When it lands, toss in another hit to throw your opponent off balance. The OD version makes both the move itself and the follow-up attack do more damage. Can I get a HELL YEAH?
Special Move: Swagger Hermit Punch (+,+)
A follow-up attack performed out of Swagger Step, unleashing an even more devastating strike with the heel of your palm. It does very high damage, making it particularly powerful in combos or as a surprise attack.
This attack's a killer, and ya can't do it without your drink level maxed out. Combine it with Swagger Step and you'll be doing serious damage. Always look for an ppportunity to slip this one into a combo.
You could also try busting it out as a way of covering yourself if your Swagger Step gets blocked.
(Overdrive)
You'll wanna use this in the middle of the stage—somewhere they can't reach you if you score a hit. It's fast as hell outta Swagger Step, and super potent as a surprise attack.
Super Art: Breakin’ (+)
A sequence of acrobatic rotating kicks at high speed. During the attack, keep holding down to raise your drink level.
This mostly gets used in combos thanks to its huge damage and all, but if you happen to be holding down when it connects, you can switch to takin' a swig of the 01' medicine.
You'll end up doing slightly less damage, but in return, you'll raise your drink level. To break it down, when your drink level is low, prioritize drinkin'! When your drink level is high, focus on churnin' out that sweet damage.
Super Art: The Devil’s Song (+)
Unleash even stronger ki by taking a big gulp from your gourd. Your drink level will be maxed out for a period of time after finishing the move.
Here's a power move: take a huge swig and temporarily boost your drink level. You can use it to continue your offense totally wired, or start up a combo. Cancelin' into this from normal moves or Overdrive Arts is nasty as hell.
It ain't all roses, though! Unless your drink level was already maxed when you used it, you'll go back to level I after a while. Disappointed? Hey, I said temporarily. By the by, use it when your drink level's maxed and it'll restore your Drive Gauge.
Super Art: Getsuga Saiho (+)
A sequence of attacks that breaks an opponent's posture, and then finishes by kicking them into the air after forcing them to take a swing at you. After the opponent has been launched, it is possible to continue your offensive with a follow-up attack.
Ordinarily, land this and you'd be able to follow it up with an attack, but you can't do that if you use it as a CA. Instead, the last hit will do nasty damage… and look sick as hell.
Cancel into it from a special move to put an opponent down for the count.
Strategy: Fundamentals 1
First lesson, pal: use your kicks to keep your opponent in check. If you want my advice, I'd mainly stick to standing medium kick, standing heavy kick, and crouching medium kick.
All three of 'em can be canceled into special moves, so you can also turn 'em into beefy little sequences that involve light or medium Freeflow Strikes.
But you gotta do more than that to flow freely and finish things out in style, you feel me? So whenever you get the chance, you gotta unleash The Devil Within to pump up your drink level.
In short, keep a good distance that lets you poke at your opponent and take safe swigs using The Devil Within. To get things rolling, raise that drink level by 1 so you can use Luminous Dive Kick.
Strategy: Fundamentals 2
Raised your drink level by 1, did ya? Nice! Time to move in.
You'll wanna keep using normal moves, but now you can start layin' on the pressure with Luminous Dive Kick and Swagger Step. But you just know your opponent's gonna be a buzzkill while you're hittin' the gourd. If someone jumps at you, put 'em in their place with crouching heavy punch or Arrow Kick. Keep your guard solid so you can go on poundin' that drink.
Strategy: Fundamentals 3
Once you hit drink levels 2 and 3, you'll get access to more ways to bust through your opponent's guard.
Use lots of standing medium punch, since you can act first even if it gets blocked. From drink level 2, you get to use Full Moon Kick, which'll ruin a crouching blocker's day. Get 'em rattled, then pump up that drink level!
Hit drink level 3 and you get Tenshin, which lets you bust an opponent's guard and get a follow-up. It's a throw, but unlike normal throws, there's no gettin' out of it. Combine it with strikes to bring fools to their knees! Hah haaah!
Strategy: Fundamentals 4
Once you hit drink level 4, you are officially sloshed, my friend. And with the drunkenness comes power. If I were to describe the feeling in RPG terms, it's like...your attack power is buffed across the board. You get the idea.
Freeflow Strikes changes, making it hit even harder. And the first hit recovers quicker, so you can just… go to town with it... *hic!*
Also, you'll be able to do a Swagger Hermit Punch after Swagger Step. This does UNREAL damage, so combo it up! Finally, take a swig once you're at drink level 4, and…
Check it! You restore your Drive Gauge! This means you'll be able to wild out using moves that take Drive Gauge, makin' ya boy Jamie the toughest dude on the planet! Pfft, I say that as if I'm not already. Hah hah!