Basic Info: How to play JP
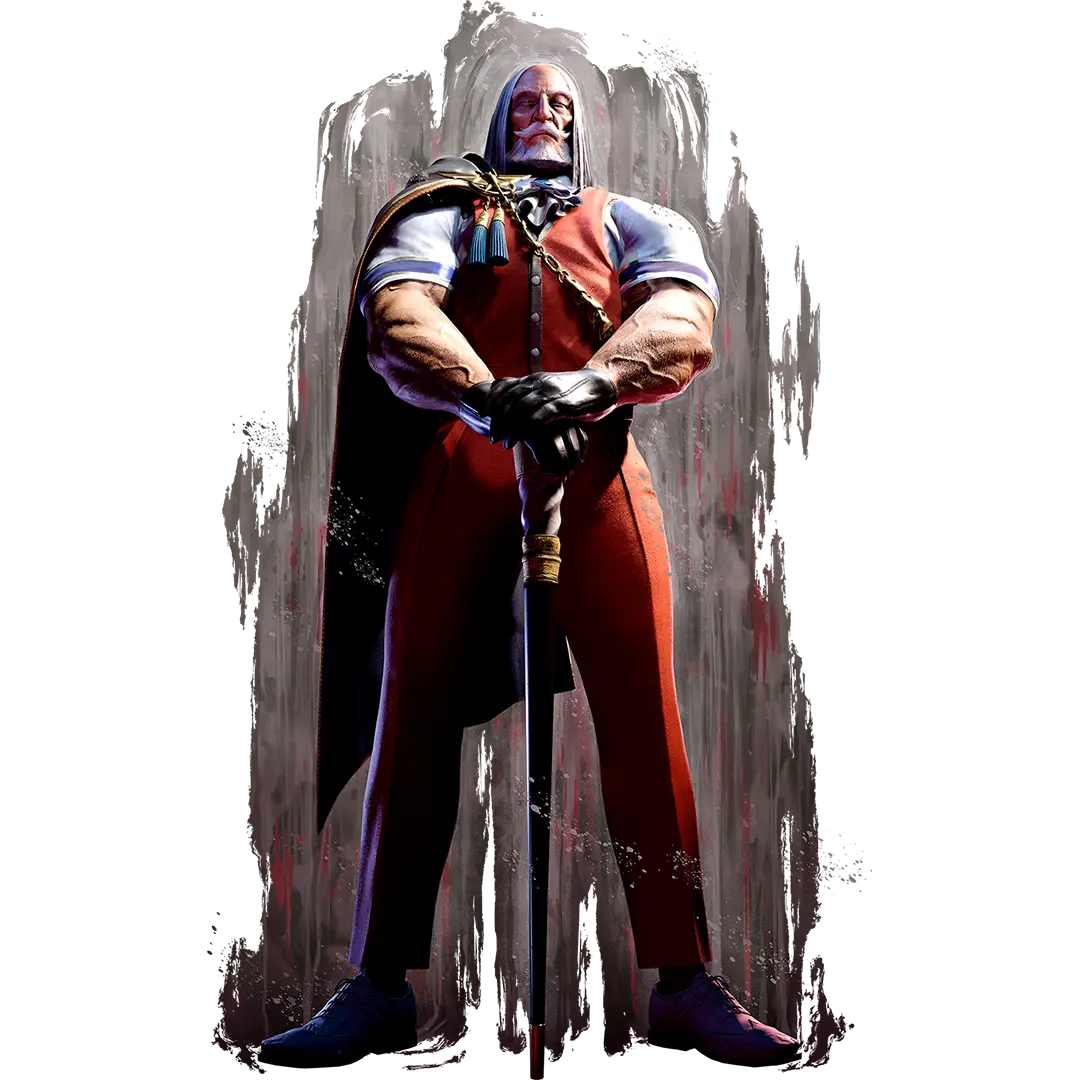
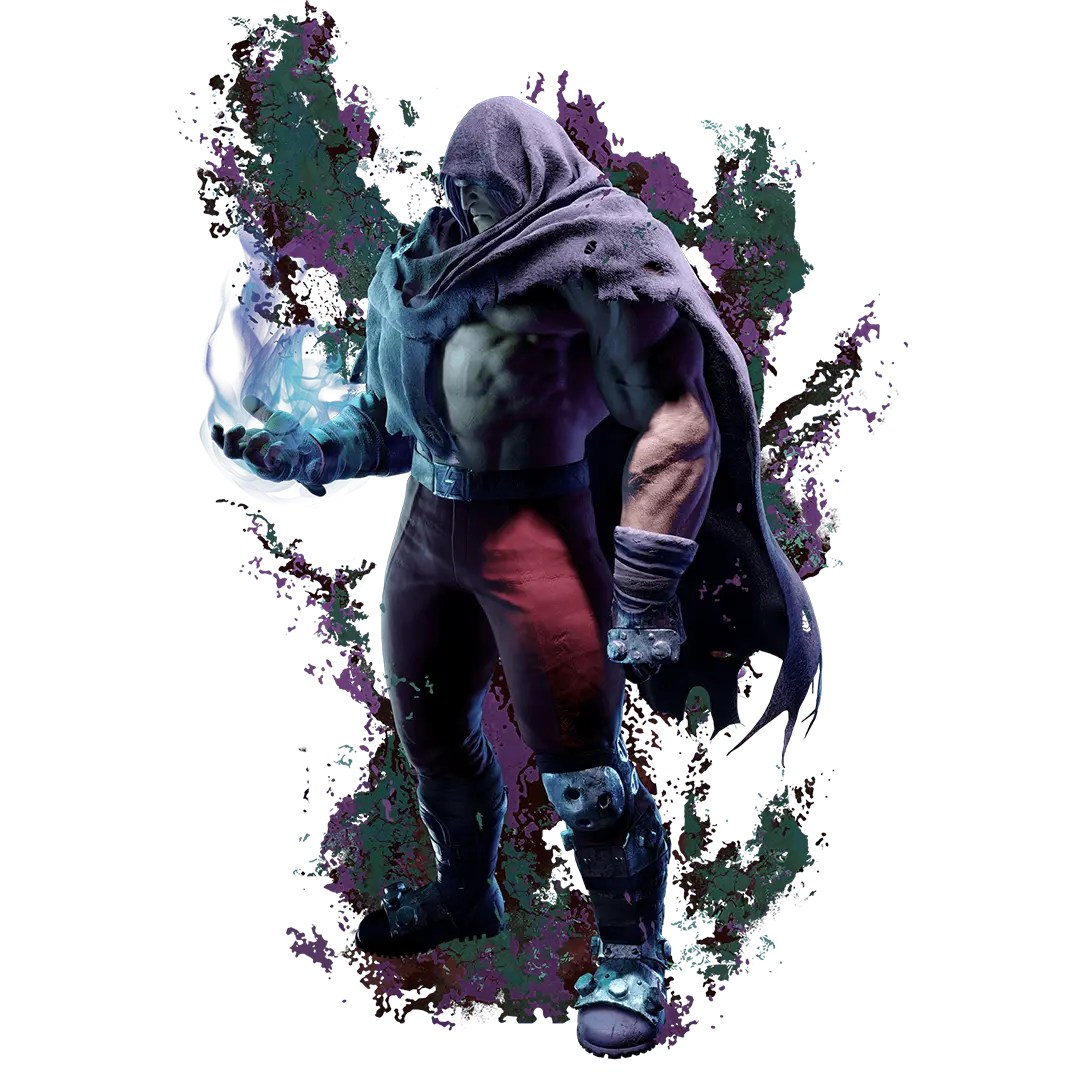
With long-range pokes and a bevy of Psycho Power-based projectiles, JP is in his element when he's keeping opponents guessing and on the opposite side of the screen.
JP can disrupt the opponent's defenses from a distance, and has plenty of ways to prevent them from approaching as well.
At mid-range, he can keep opponents at bay with his long-reaching normals, along with special moves designed to send opponents flying.
Departure limits your opponent's movements while setting up attack opportunities.
Special Move: Triglav (+)
Thrust your staff into the ground, causing thorns of Psycho Power to emerge at a distant location. Useful in combos and as a way to check opponents from a distance.
Triglav allows you to attack opponents from a distance, with the point of attack changing based on the strength of the button. Best to attack directly...or the place where you predict the opponent will be.
(Overdrive)
This version adds an additional thorn...and considerable pain. Suitable for keeping your opponent in check, or pushing them back to a more suitable distance.
Whichever you choose, attacking directly should prove most effective.
Special Move: Stribog (+)
Perform a forward swing with your staff to generate a barrier of Psycho Power. Effective for tacking on additional damage in combos or as a way to get your opponent away from you.
A move best used in conjunction with other attacks at close range. Transition into it from a fast attack to put distance between you, or—if your opponent provides a sufficiently large opening—use it in a combo to inflict great damage.
That should more or less cover its main uses.
(Overdrive)
This one executes faster, and will wall-bounce opponents on hit. Your opponent need only leave you the slightest opening to allow you to start a combo with this ability.
If you expect a heavy attack to hit, try canceling into this in advance.
Special Move: Departure (+)
Place a void of Psycho Power in the air from which thorns spawn. Useful as a way of limiting your opponent's movement when vying for position.
This move uses Psycho Power to create a distorted void in space, which will automatically attack the opponent shortly afterwards. You can use the time before the attack executes to your advantage, or even activate the attack manually, if you so choose.
After creating a void, you can use Departure: Window (+|) to teleport directly to it. Note that you can use jumping attacks upon exiting the warp.
There's also Departure: Shadow (+). This will manually trigger an attack from the void you create. Use this to make your timing less predictable, or connect into it from a normal attack.
(Overdrive)
Place distorted voids in two locations, expanding your range of actions.
Their placement positions are dependent on the combination of buttons you use. Observe the opponent's actions and positioning, and place voids accordingly.
This also changes the behavior of Departure's associated moves.
Departure: Window will teleport you to one of the voids based on the button used. You may teleport twice, which should make things decidedly confusing for your opponent.
Departure: Shadow will activate attacks in order, starting with the void closest to you. The densely layered offense that results should prove quite devastating.
Special Move: Amnesia (+)
Ward off an opponent's attack while sticking them with a bomb of Psycho Power. The bomb will detonate after a period of time, damaging the opponent.
Amnesia activates upon contact with an opponent's attack. You'll need to predict your opponent's offensive patterns, but if successful, you'll attach a Psycho Power bomb to them.
This bomb will stay with the opponent, and explode after a period of time. Suffice it to say, they will need to… exercise caution. Take advantage of the opportunity to push things in your favor.
(Overdrive)
A successful activation will attach two bombs to your opponent. It activates instantly, and provides a considerable return. Ideal for reversing the situation when under threat.
Special Move: Torbalan (+)
Craft a clone out of Psycho Power and send it flying at your opponent. Useful for checking your opponent and causing damage at long range.
The button used will change the clone's attack.
Light will unleash a quick attack with short recovery, suitable for controlling space. It will also knock down the opponent if it hits. That should set them back a bit.
Medium will release an attack that can't be blocked while crouching…
While heavy will release an attack that can't be blocked standing. All fine options for disrupting your opponent's defenses from a distance.
Ah, and if you hold the button down, the clone will vanish midway, without attacking at all. A feint. It recovers near instantly, and is highly effective at encouraging your opponent to make a mistake.
(Overdrive)
The clone performs multiple attacks. Very useful for attack sequences. If blocked, you'll be left at an advantage, and if it hits, you may follow it up with another attack. It's a move well worth using, but do note that it's a touch slow to execute.
Special Move: Embrace (+)
A throw that sends a clone to grapple with the opponent and explode with Psycho Power. The amount of time it takes for the grab to execute depends on the distance from your opponent.
This move sends a clone to throw your opponent. A wonderful option for surprising foes or breaking their guard. Should they expect to Drive Parry Torbalan or Triglav, imagine their surprise if this were to emerge instead…
(Overdrive)
The throw performed by the clone increases in attack power. This should prove effective at close range, breaking your opponent's guard and dealing considerable damage.
Super Art: Chornobog (+)
Fire two interlocked shockwaves of Psycho Power directly forward. Easy to work into combos or to use as a counter attack, even when performed at close range.
Chornobog's applications vary depending on your distance from the opponent. It's invincible at the start, so you can use it as a close-range reversal and anti-air, or as a damaging move in combos.
From afar, you can connect into it from other moves, or launch it through an opponent's projectile— assuming you predict one's coming, that is.
Super Art: Lovushka (+)
Generate clones to attack your opponent from all directions. Can be used to make combos utilizing your clones, or as a way of breaking through your opponent's guard.
Surround your opponent with clones, which launch a series of attacks. The attacks from the upper clones can't be blocked crouching. It is best used to break the opponent's guard or to launch powerful offensive sequences.
Experimentation is key. All manner of creative combos and unpredictable attack chains are possible. The order of the clones' attacks are predetermined, so some memorization may be required.
Super Art: Interdiction (+)
Grab your opponent and send Psycho Power flowing through their body, causing them to explode from within. You will instantly warp to your opponent upon activating this move, making it useful in a variety of situations.
Though not without its risks, this is perhaps the ultimate last resort, teleporting you instantly to the opponent for a devastating attack. To wit, you can use this in a variety of situations, from any position on the screen.
You can use it from afar after visually confirming your opponent's actions, or as an added attack after landing a move that knocks the opponent away. Its applications are truly versatile. Take care not to forget you have it.
Strategy: Fundamentals 1
Physical combat is a truly irrational thing. And the height of that irrationality is an exchange of blows, person to person.
My cane and Psycho Power exist to prevent the opponent from getting close to me. Remember well the fundamentals underlying my techniques, that you might do the same.
Should you be at the distance you'd find yourself at when a bout begins, you may elect to use standing medium punch, which has considerable reach.
Employ Triglav and Malice (+) to throw a bit of cold water on your opponent's plans. Standing heavy punch can be used to prevent your opponent from approaching, but be wary of their Drive Impacts.
Strategy: Fundamentals 2
It goes without saying, but your adversaries seek your defeat just as you seek theirs. At mid-range, you must have a strategy for neutralizing your opponent's offense, particularly when they leap into the air.
If your opponent jumps toward you, crouching heavy punch should be a reliable attack to deal with them.
You may also take to the air yourself to throw them. You'll swap positions with your opponent, making it particularly amusing in the event that you're cornered. Ah, for the hunter to become the hunted…
Should they draw near, you must put them in their place at once. Standing medium kick and crouching medium punch should suffice. Transition into Stribog or Overdrive Torbalan to return them whence they came.
If, despite all this, you still find yourself in the midst of a barbaric melee, OD Amnesia or a Drive Reversal should help deliver you from the quagmire.
Strategy: Advanced 1
Once you can skillfully manage opponents at mid-range, you must turn your attention to longer ranges. It is here where my repertoire shines most brilliantly. Use Psycho Power to
toy with your opponents...then put them out of their misery.
First, you must restrict your opponent's movement to preserve your positioning. Predict when they're going to move forward, and use medium and heavy Triglav to snipe them from afar.
Once they're cognizant of Triglav's threat, Torbalan will become more effective. Weave together the light, medium, and heavy variations to pierce your opponent's defenses from a distance.
Hold down the button to feint, and add Embrace to instill ever greater uncertainty. Once cracks in their facade appear, by all means, begin chiseling. Heh heh heh.
Strategy: Advanced 2
Departure will require some practice to master. Used thoughtlessly, your opponent will be upon you in an instant. Once you understand its methodology, however, you will find it to be indispensable.
First, you should use it after knocking your opponent down—or, when you're far away and have made it difficult for your opponent to move. You must create situations in which Departure can be used without fear of retribution.
Practice using Departure with awareness of your situation and surroundings. After placing it, transition to offense, pressuring your opponent until Departure's automatic attack begins.
Use the automatic attack to assist and continue your pressure, then immediately place the next Departure. All the better if you can apply some of Departure's additional moves to this basic framework.
